Showing posts with label 2013 Finish. Show all posts

Tuesday, 3 December 2013

New Quilt Ladder and Another Finish!

I'm on a roll here! Whoa! That's what happens when you don't post for a while.
I want to share the most awesome quilt ladder I recently purchased online from Generation to Generation Heirloom. I ordered the Convertible Ladder, featured under the link Quilters Treasures. Chuck was super quick to get back to me, he found me the best shipping price, and I got it in no time at all. I had it shipped just across the border, in Blaine, WA, to save on the shipping. Shipping was very reasonable and quick.

The ladder was easy to put together and it is just gorgeous and very well made. Double bonus, it matches our furniture just perfectly! If you are looking for a high quality, hand made quilt ladder or stand, I highly recommend Generation to Generation Heirlooms. LOVE IT!

Do you see the pink quilt on the ladder above? It's another baby quilt I finished recently! I still don't know what this block is called? (If you know, would you please leave a comment? Thanks!)

A friend posted a picture of the block and asked if anyone had the pattern. I looked at the picture and whipped her up a quick block tutorial. I enjoyed making the block so much, I knew I would be making a quilt with it!

Lucky me, I had won a bundle of fat quarters as a door prize at our modern guild (thanks Hedda!). I loved the bright colours in the bundle, orange, yellow, red, pinks. I didn't have quite enough to make all the blocks, so I dug in my stash and found a striped fabric with all the colours, and another pink that went well with it.
I made a pieced backing, all with fabrics from my stash (the yellow fabric with houses was bought on sale from Connecting Threads). I bought the fabric for the binding. It's Remix by Ann Kelle for Robert Kaufman.
I love it, it's the perfect finish! I think I'm caught up on posting!
 
Happy quilting!

Sunday, 1 December 2013

A Quilty Finish!

I am excited to show you a quilt finish today! I finished this quilt several weeks ago, but the weather hasn't been great, and indoor pictures just didn't do it justice!
 
I may have mentioned this before, there have been a lot of baby announcements in our small office. We've had three babies join us, and a fourth one due in March! How exciting!!
This first quilt is for a beautiful little girl, who arrived in early November! Mom and her proud, big sister came to the office this last Friday to show her off! We all got a chance to cuddle her and share in the joy! She is adorable! The shower will be in January, so I can't wait to give her this quilt!
 
The pattern is The Missing U, from the book Sunday Morning Quilts, by Cheryl Arkison and Amanda Jean of Crazy Mom Quilts.  My previous post can be found here.
 
 I love the little bits of whimsical fabric in it. It can be used as an I-Spy quilt, too!
 Check out this jazzy dude. Proud daddy is a music teacher, so this'll make him chuckle!
 I quilted it with an all-over meander using variegated thread. I am very happy with how it turned out!

Linking to Lily's Quilts - Small Blog Meet and Sew Many Ways.
Lily's Quilts

Monday, 25 November 2013

Challenge Quilt Revealed!

I have a Challenge quilt finish to show today!
Our modern guild partnered with a Canadian on-line fabric company, Warp and Weft, who put together a bundle of fat quarters for us. Our challenge was to make whatever we wanted with the fabrics. No other rules or restrictions, just go for it!

When I received my bundle, it took me quite a while to come up with an idea. I was in the midst of working on the two quilts (shown below), and the colour choices in this bundle left me puzzled. I searched the internet for inspiration, and then my Pinterest board to peruse my quilty pins, and found this one and I knew I could make it work.

I don't have quilt design software, so I re-created the pattern using Word shapes and changed the colour placement so I could work with the colour palette we were given. I added in the orange, lime green, and purple/pink burst fabric, along with a tan, cream, grey and black.

Did I mention I have helpers?
Rather than strip piecing, I cut individual pieces and then pieced the blocks, using just the picture to guide me. I liked the process of 'puzzling' my way through the maze. There are 392 pieces in this little quilt, finished size 1.25" x 2.5" each and the quilt, with a 2" finished border, is 38" square. I plan to hang it at the end of the hallway so we can enjoy the full effect of the design.

I quilted the coloured bricks close to the seams, even Lizzie thought I should take a break on this one!
 
 
On the back, I used a piece of (I believe) Indonesian batik. These batiks come in lengths of about five feet. I bought several of these when I was at Quilt Canada...in 2004!
 
 I am very happy with the results!

Sunday, 24 November 2013

Sunday Afternoon Makeover: Re-upholstering a Footstool

Sunday afternoon, hubs and I re-upholstered this old footstool that belonged to my granddad. It was covered in a rust-coloured 60's tweed, obviously very dated. We do use the footstool, as do the furry ones, so we thought it was time to give it a makeover.
 
It really wasn't that difficult, we watched a Youtube video (which wasn't very helpful) so we just kind of winged it. It didn't take long either, about an hour, and in the end, we think it turned out great!
Measuring
Trimming to size
Figuring out the corners
A tuck here, a tuck there
Three more corners to go!
Details!
We decided not to re-finish the legs. For one, we wanted it done today, and two, because we wanted to keep some of the original character. Something from Gramps!

Ta-da!

Saturday, 23 November 2013

Scrap Bags and Kitty Beds

It's been a while since I posted. I have been sewing and quilting, though. I'll start off with just a few little projects I've worked on recently! I'll post some quilts in the next day or so.

A cherry pit heating bag I whipped up as a door prize for our local modern quilt guild meeting. Last year, I bought three boxes of cherry pits online from Norton's Okanagan Harvest. The boxes were bigger than I expected, so I was really happy about that! I've made quite a few of these bags. They make great gifts, and sold very well at our guild quilt show boutique. Here is the tutorial I used. Sorry for the crappy picture, but I snapped the pic just before I ran out the door.
A kitty bed made using Cluck Cluck Sew's Sprocket Pillow tutorial. I used flannel scraps and made the 16" pillow size. I stuffed it (not too full) with fabric scraps and batting bits that guild members have been giving me for the beds. This one received Lizzie's seal of approval immediately!
I had enough scraps to stuff another bed. This one I made a bit larger and more oval. I used the same construction method as the sprocket pillow, except I made a pillow insert (check out this snake fabric...what was I thinking when I bought this?!) and then made a removable cover, with a zipper!
I haven't sewn a zipper into something for years, so the cat bed was good practice. I have had the pink checked fabric for way too long, easily 20+ years, but I guess you get around to using it eventually, right?
All the cat beds I make receive the seal of approval from my capable testers! We actually have three cats, but our smallest one, Monty, is such a Chicken Little, he's afraid of his own shadow. I gave this bed to a co-worker who has a heart of gold, and cares for several stray cats in her neighbourhood. She tells me her kitties love it!

Wednesday, 14 August 2013

Aloha! Surf's Up!


This behemoth is finished! A start AND finish in the same year, let alone the same summer? I almost can't believe it! I finished hand stitching the binding down last night and I am so happy with this quilt! It is big! 


I would have been too intimidated to try and quilt it myself on my home machine if I thought it was almost a double-size quilt. In my mind, I thought it was just a twin-size. 

When I showed it to my dad he thought it would fit on a double bed. Sure enough, that sucker is big enough! The quilt measures 74" x 94". It just goes to show you...what you don't know, won't hurt you! :)

This quilt is for my nephew, who is nearly 7 feet tall! He is recovering from a very serious accident, and I wanted a quilt that would be long enough for him (his feet hang over the end of the bed!). I think he'll like it! We'll be delivering it in person on Friday. Makes me happy!


I quilted in the ditch through all the sashing and free-motioned the surf boards. Not perfect, a bit wavy and wobbly, but hey, considering they're surf boards, a few waves can be a good thing!

The back is more Hawaiian fabric. I remember coming back from Hawaii, with my suitcase crammed full of fabric. When the airline staff slapped the HEAVY sticker on my bag, I thought, "Oh, no, I'm going to have to pay extra!" Thankfully, they let it go through! Whew!


~Happy Quilting!~

Kat

Wednesday, 3 July 2013

A Quilt for Natalie


In January, after a looong hiatus from quilting, I decided to dig into my fabric stash and start cutting into it to see if I could find some inspiration to get myself back into the quilting mood.
I bought this cute pastel bubble fabric, oh, I think back in 2004, while in Alberta at a quilt retreat. Knowing that I wanted to make a baby quilt for my two co-workers who recently had baby girls, I cut a whole pile of 2.5" squares, enough to make two 9-patch quilts with alternating plain blocks. 
I made one of the 9-patch quilts but unfortunately, I forgot to take a picture before giving it away. 
There was still fabric left over, so I cut it into 2" strips x WOF, not really sure what I would make with it, I just knew I didn't want to put it back in the cupboard.

The Missouri Star Quilt Company has lots of great tutorials on Youtube, and after seeing this tutorial for "Summer in the Park", I really wanted to try it! The tutorial uses a jelly roll (2 1/2" strips) to make the quilt, but there's no reason you can't make it using 2" strips, for a slightly smaller block.


For the backing, I used more stash fabric to piece the back, along with pieced remnants from the block strip sets. I'm really happy with it, as it makes it fun, and reversible. I can't wait to give this quilt to her!


I thought I'd try quilting it with large bubbles, but after practicing for a bit, I decided I was not ready to try it on a big quilt. My bubbles looked more like eggs, not exactly round!
 
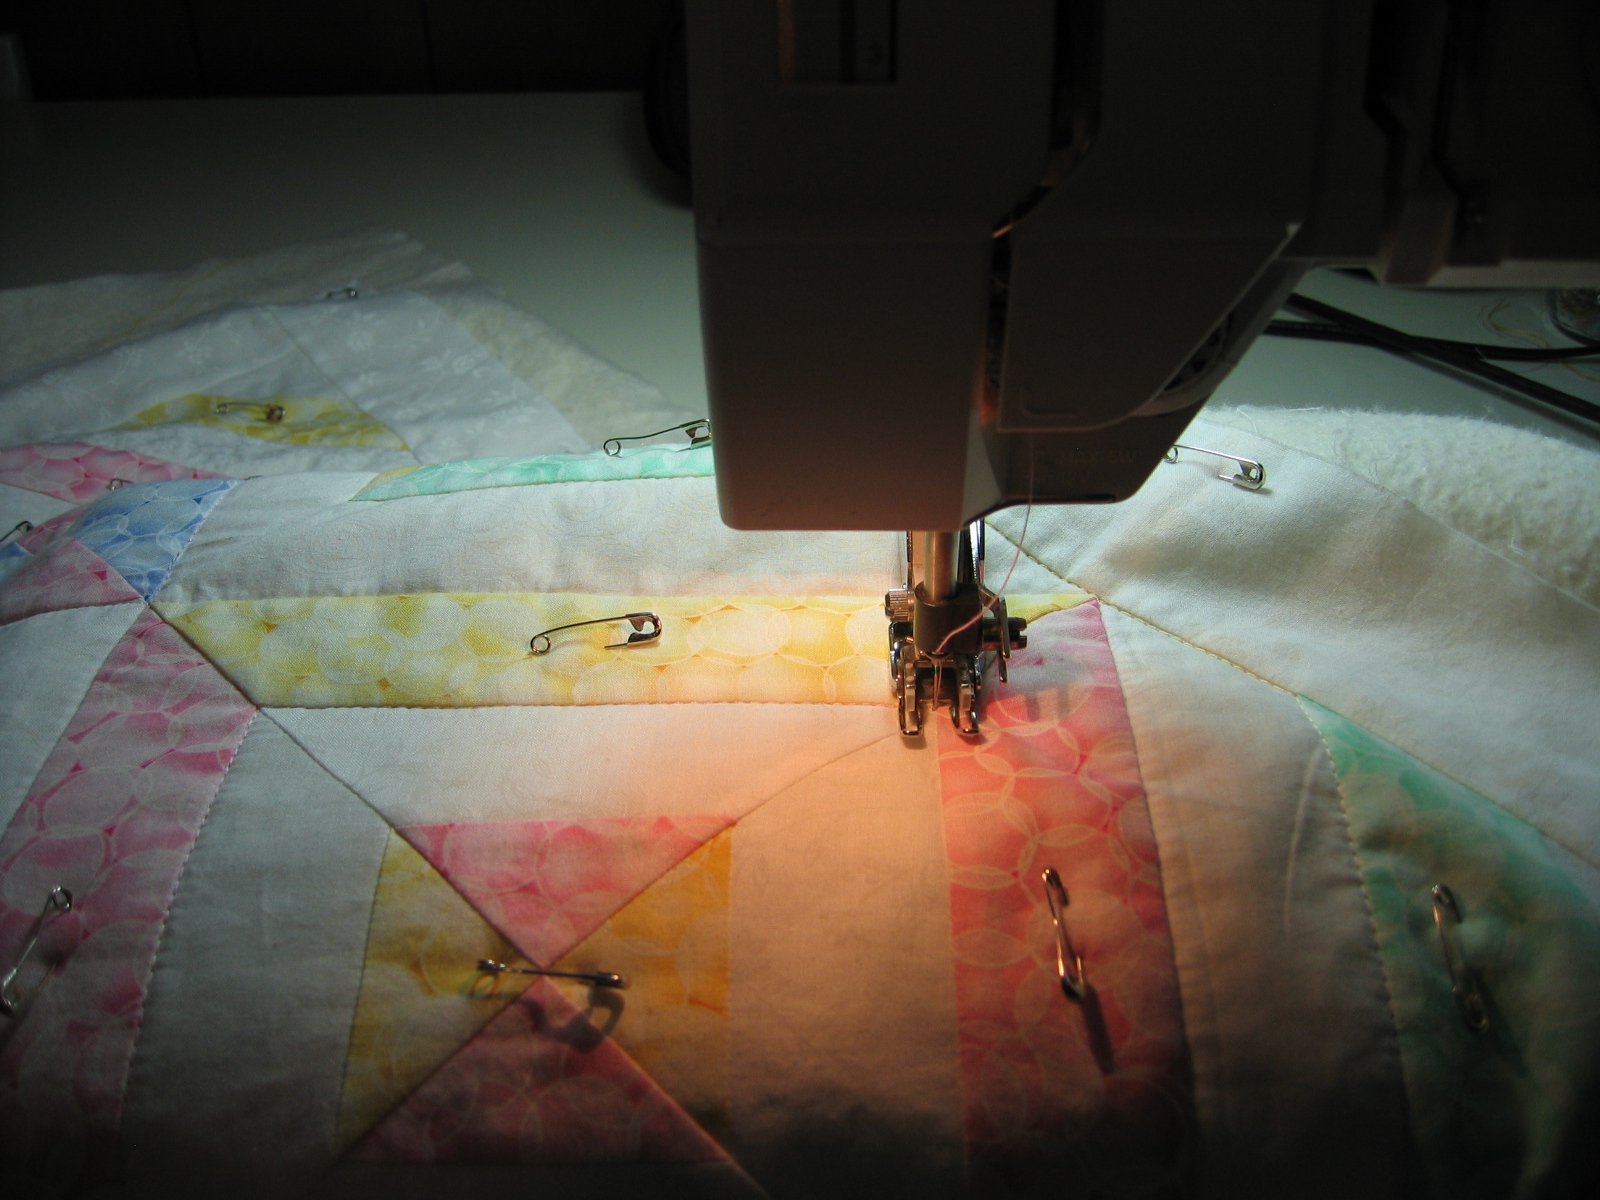
Not exactly the best lighting for quilting! I use an Ott-Lite set up behind my machine to illuminate my sewing area. It works!


I machine quilted in the ditch around all of the diamonds and squares, which made a nice pattern on the back.

 
The binding is a pink gingham "Mini Mikes" by Michael Miller. Isn't the selvage cute?
 
Beautiful little Natalie was born in November, and she has been waiting patiently to receive her quilt. She'll have lots of time to grow into it. The blocks finish at 11.5" and the quilt measures 51" x 64" after washing.


 Happy quilting!

~Kat~

Monday, 1 July 2013

A Baby Quilt Long Overdue!

After completing the Modern Fabric Swap Quilt, I thought I should pull out some of my UFO's and get them done. I pulled out this baby quilt from the cupboard, and discovered that I had only one line of quilting and six little birds left to quilt and just to add the binding!! Sheesh, why did I stop? The little one is almost a year and a half!


I finished this quilt in April. I started it in early 2012, but lost interest in quilting for almost a year.  My niece's recent interest in making herself a quilt (pictures to come) inspired me to get started again.


I found a free clip art which I used to draw the birds for free-motion quilting. I quilted around them twice to give them more definition. I love the little bird fabric!


I backed the quilt with a cozy polka dot flannel that picked up the colours nicely.


Needless to say, the babe's mom was very pleased when I surprised her with it one day at work! I don't make my "baby" quilts small, so the good part is that she will be able to use and enjoy it for a long time! Another finish!