Showing posts with label tutorial. Show all posts

Tuesday, 4 November 2025

Speed-piecing 4-Patches Tutorial - How to Sew 100 4-Patches With Only 20 Seams

In 2023, I put together a tutorial on how to make 60 4-patches sewing only 16 seams. I decided on 60 as that was the width of the strip set that fit under a 24" ruler and I thought it would be easier to manage. I've used the speed-piecing method many times since and found that it is very manageable to sew with a larger strip set to sew more blocks faster.

If you would like to make 100 4-patches sewing only 20 seams, you will need:

From yardage, cut:

  • 5 strips – 4” x WOF* (Fabric A)
  • 5 strips – 4” x WOF (Fabric B)

*width of fabric minimum 41" 

Follow the instructions here as for making 60 4-patches, but sew 10 strips together instead of 6. With just 4 more seams, you have sewn 40 more 4-patches!!

You don't have to stop there. Do you need more than 100? For every 2 strips (1 Fabric A and 1 Fabric B), you will end up with 20 more 4-patches! Remember: you always need to have an even number of strips to make the initial checkerboard. If you end up with extras, save them for your next project or incorporate the patchwork into the backing.

Why not go scrappy?! Check out this quilt top I made using scrappy 4-patches from FQs.

Have fun!

~Keep in stitches,

Kat

Saturday, 8 April 2023

Hands 2 Help - Speed-piecing 4-Patches Tutorial

I am so excited to be participating with Hands2Help Comfort Quilt Challenge 2023 hosted by Sarah at Confessions of a Fabric Addict and my very first guest post! 

I love to make scrap quilts, making something from the leftovers and castoffs. (Ok, I love making scrap blocks. Finishing the quilts is another story, ha!) Sometimes though, I want to use a speedier piecing method rather than sewing individual scraps together. 

Bonnie K. Hunter of Quiltville.com makes the most wonderful scrap quilts and generously shares many free patterns. One that I especially like and have made before is her Bricks & Stepping Stones pattern.  Here's the flannel quilt I made using this pattern. You need a lot of  4-patches.

I’m going to show you how to make a bunch of 4-patches (quilting term for 60!) with less measuring / cutting steps, and fewer seams. If you have ever made a Trip Around the World quilt, this is a similar method.

Please read through all steps before starting. Piecing accuracy is really important! Use a scant ¼” seam allowance.

These instructions will make 60 (yes!) 4-patches that finish at 3 inches (3 1/2" unfinished). I’ve also included cutting measurements to make other sized 4-patches at the end of the post. 

You can use just two colours of fabric, or go scrappy, and use a variety of lights and darks.

From yardage, cut:

  •  3 strips – 4” x WOF* (dark)
  •  3 strips – 4” x WOF (light)
*width of fabric minimum 41" 

1. Sew the strips together in pairs, alternating light and dark. Measure your strip set. It should be 7 1/2" wide. If it is too narrow, fix your seams now, otherwise your 4-patches will be too small. If it is wider than 7 1/2", you can leave it if you don't mind doing a bit of trimming to square up your 4-patches, or fix it now if you don’t want the extra work. Personally, I don’t mind the little extra. 

2. Sew the pairs together. Press seams toward dark fabric.

3. Square up one edge. Cross-cut the strips into 4” segments (pieces will measure 4” by 21 1/2”). You should end up with 10 segments. 

4. Flip every second segment and pin the segments together to make a checkerboard. Sew and press seam to one side.

5. Align the 1 3/4" line on your ruler with the first seam to the right on the short side of the checkerboard . (If you are left-handed, you can measure and cut from the left side). Make sure the ruler line is lined up from top to bottom, adjust if necessary (a little tug here and there may help). Cut. 

The segment will measure 2".
6. Flip the 2" segment around and sew it to the opposite side of your checkerboard. Press the seam to one side.

7. Turn your checkerboard on your mat so the long side is on the right (left if left-handed).
Align the 1 3/4” line on your ruler with the first seam in from the right edge. 
Make sure the ruler line is lined up from top to bottom, adjust if necessary. Cut.

8. Flip the 2" segment around and sew it to the opposite side of your checkerboard. (You may need to press seams so they nest together). Press the seam to one side.

Your checkerboards will now look like this. Now comes the fun part!

9. Make sure your checkerboard is laying straight on your cutting mat. Align the 1 3/4” line on your ruler with the first seam in from the left edge this time. Make sure the line is lined up from top to bottom, adjust if necessary. The 3 1/2" line should be lined up along the left edge of the checkerboard.  Cross-cut into 3 1/2” segments.

10. Continue aligning the 1 3/4" line with the seam line, and check that the 3 1/2” lines up to the left edge (right edge if left-handed). Cut into segments.

11. If you can move around your table, keep the pieces lined up on the cutting mat, or cut each segment individually. Repeat the steps above. Align the 1 3/4" line to the seam and cut into 3 1/2" unfinished 4-patches. 

Congratulations! You just made 60 4-patches!! Were you counting seams? If my count is correct, there were only 16 seams sewn! How cool is that?

If you make another set, you will have enough to make your own Bricks and Stepping Stones quilt (with a few 4-patches left over)! 

4-Patch Finished Size

Cut Strips

2”

3”

4”

5”

6”

7”

8”

9”


Remember the sneak peek I mentioned in my To-Do Tuesday post? This is what I am doing with it. 
1. I followed steps 1 - 10 above. I then sewed a 6 1/2" wide strip of bright fabric to the segment. Press seams to bright fabric. 
2. I straightened the edge, and then cut 3 1/2" segments, aligning the 1 3/4" line with the 4-patch seams. 
And here are some of the blocks up on the design wall. 
I hope you will give this method a try.  Please let me know if you find anything confusing. I will be making my quilt top for Victoria's Quilts Canada. At the retreat I attended in early March, I met a local representative so I'll arrange to drop off the quilt top to her when it's done. 

I hope you consider joining the Hands 2 Help Challenge, too!

Monday, 20 February 2023

Bento Box - Cutting instructions for a 6 inch finished block

Happy Family Day to those who get to enjoy this 'newish' holiday in BC. 

I thought I would provide the cutting measurements for a 6 inch finished Bento Box block. It is just as easy as making the larger block. I hope you try it!

Refer to the tutorial I wrote for the 12 inch Bento Box block. The assembly is exactly the same.  

To make one 6 inch 2-colour Bento Box block (6 1/2 inch unfinished), you will need:

(1) 1 1/2 inches x 30 inches (minimum) main fabric

(1) 1 1/2 inch x 30 inches (minimum) background fabric  

For step A, cut the following:

Main fabric

(2 ) 1 1/2 inches by 3 1/2 inches rectangles

Background fabric

(2 ) 1 1/2 inches by 3 1/2 inches rectangles

For step C, sub-cut the strip set:

(2) 2 1/2 inches by 3 inches
(4) 2 1/2 inches by 2 1/2 inches

For step D, use the 2 1/2 inch by 3 inch units from step C. 

For step E, sub-cut into (2) 1 1/2 inch by 6 1/2 inch sections.

For step G, use the 2 1/2 inch by 2 1/2 inch units from step C.

Follow remaining steps to assemble your block! This block will become part of the label on our guild's raffle quilt. 


~Happy stitching!


Thursday, 16 February 2023

Tutorial - Another way to make a Bento Box Block

I have made a number of Bento Box quilts. I would have to say it is one of my favourite blocks to make. I’ve made my dad a queen size quilt back in 2009.  You can view a picture of the quilt top here: https://www.flickr.com/photos/madkap-pics/5462070805/

We used the same pattern for our guild's raffle quilt this year. See the finished top  here: https://madkapquilter.blogspot.com/2023/01/january-one-monthly-goal-quilt-top-is.html

EDITED: I totally forgot I made this baby quilt, too. https://madkapquilter.blogspot.com/2019/02/a-finished-quilt-alert-press.html

I’ve made a set of blocks for a baby quilt (Eek, in 2019, and it’s still a UFO! Hmm, I found the picture, now where are those blocks?)

For my dad’s quilt, and the blocks for the baby quilt, I followed the block tutorial at the SpruceCrafts.  There are other methods of sewing a bento such as using two (or more) framed squares and cutting these into four equal squares and swapping them, and re-assembling. 

While there is nothing wrong with making the blocks using these methods, I have gotten myself mixed up with sewing the fabric in the wrong position and have had to unpick more than once. 

It was while I was making the baby blocks, that I had an Aha moment, and discovered an quicker way to piece the block, that also helped me avoid making mistakes in the block assembly. 

Disclaimer: I don't own a design program. I created all the block diagrams using Excel.

To make one 12 inch 2-colour Bento Box block (12 1/2 inch unfinished), you will need:

(1) 2 1/2 inches x WOF (width of fabric) main fabric

(1) 2 1/2 inch x WOF (width of fabric) background fabric  

Note: The WOF must be minimum of 42 inches wide. 

Main fabric

(2 ) 2 1/2 inches by 6 1/2 inches rectangles

Background fabric

(2 ) 2 1/2 inches by 6 1/2 inches rectangles

A. Sew these pieces as shown. Make two. Press seams to the dark fabric. Set these aside for now. The unit should measure 2 1/2 inches by 12 1/2 inches.
B. Sew remaining strips of main and background fabrics lengthwise. Press seams to dark fabric. 
C. Square up one end of the strip set and sub-cut the strip set into the following units:

(2) 4 1/2 inches by 5 inches
(4) 4 1/2 inches by 4 1/2 inches

D. Take (2) 4 1/2 inch by 5 inch sections and sew together as shown. Press seam to dark fabric.
E. Sub-cut this unit into (2) 2 1/2 inches by 8 1/2 inches.
F. Flip the first unit around so the main fabric is in the top left hand corner and sew together as shown. The unit should measure 4 1/2 inches by 8 1/2 inches.
G. Take (2) 4 1/2 inch by 4 1/2 inch units and sew together as show. NOTE the main fabric must be in the top left hand corner. It matters! Sew the remaining 4 1/2 inch by 4 1/2 inch units exactly the same. The unit should measure 4 1/2 inches by 8 1/2 inches.
H. Join one unit from step G to the step F unit. Press seams away from the centre. 
I. Join the remaining unit from step G to the bottom of the step F unit. Press seams away from the centre. 
J. Following diagram below, join one unit from step A to the left side, with main fabric in the top left. Repeat for the right side of the block, following block diagram. Press seams away from the centre.
And there you have it! 
Things to remember:
  • Make sure you assemble/orient all of your blocks the same way. If joining blocks without sashing, the seams will be pressed the towards the dark, so they will nest nicely.
Thanks for stopping by!

Linking up to:

Confessions of a Fabric Addict Can I get a Whoop Whoop
My Quilt Infatuation Needle and Thread Thursday

Monday, 5 August 2013

10-Minute Block Tutorial for Darlene!

Hey, Darlene, this tutorial is for you!
(My apologies in advance for the crappy photographs.)


To make this block (I don't know the name), you will need:
 
1 -  6-1/2" feature square
4 -  2-1/2" feature squares
4 -  2-1/2" x 6-1/2" background
 
 
Start by sewing each of the 2-1/2" square to the 2-1/2" x 6-1/2" rectangle backgrounds. Press seams to feature fabric.
 
 
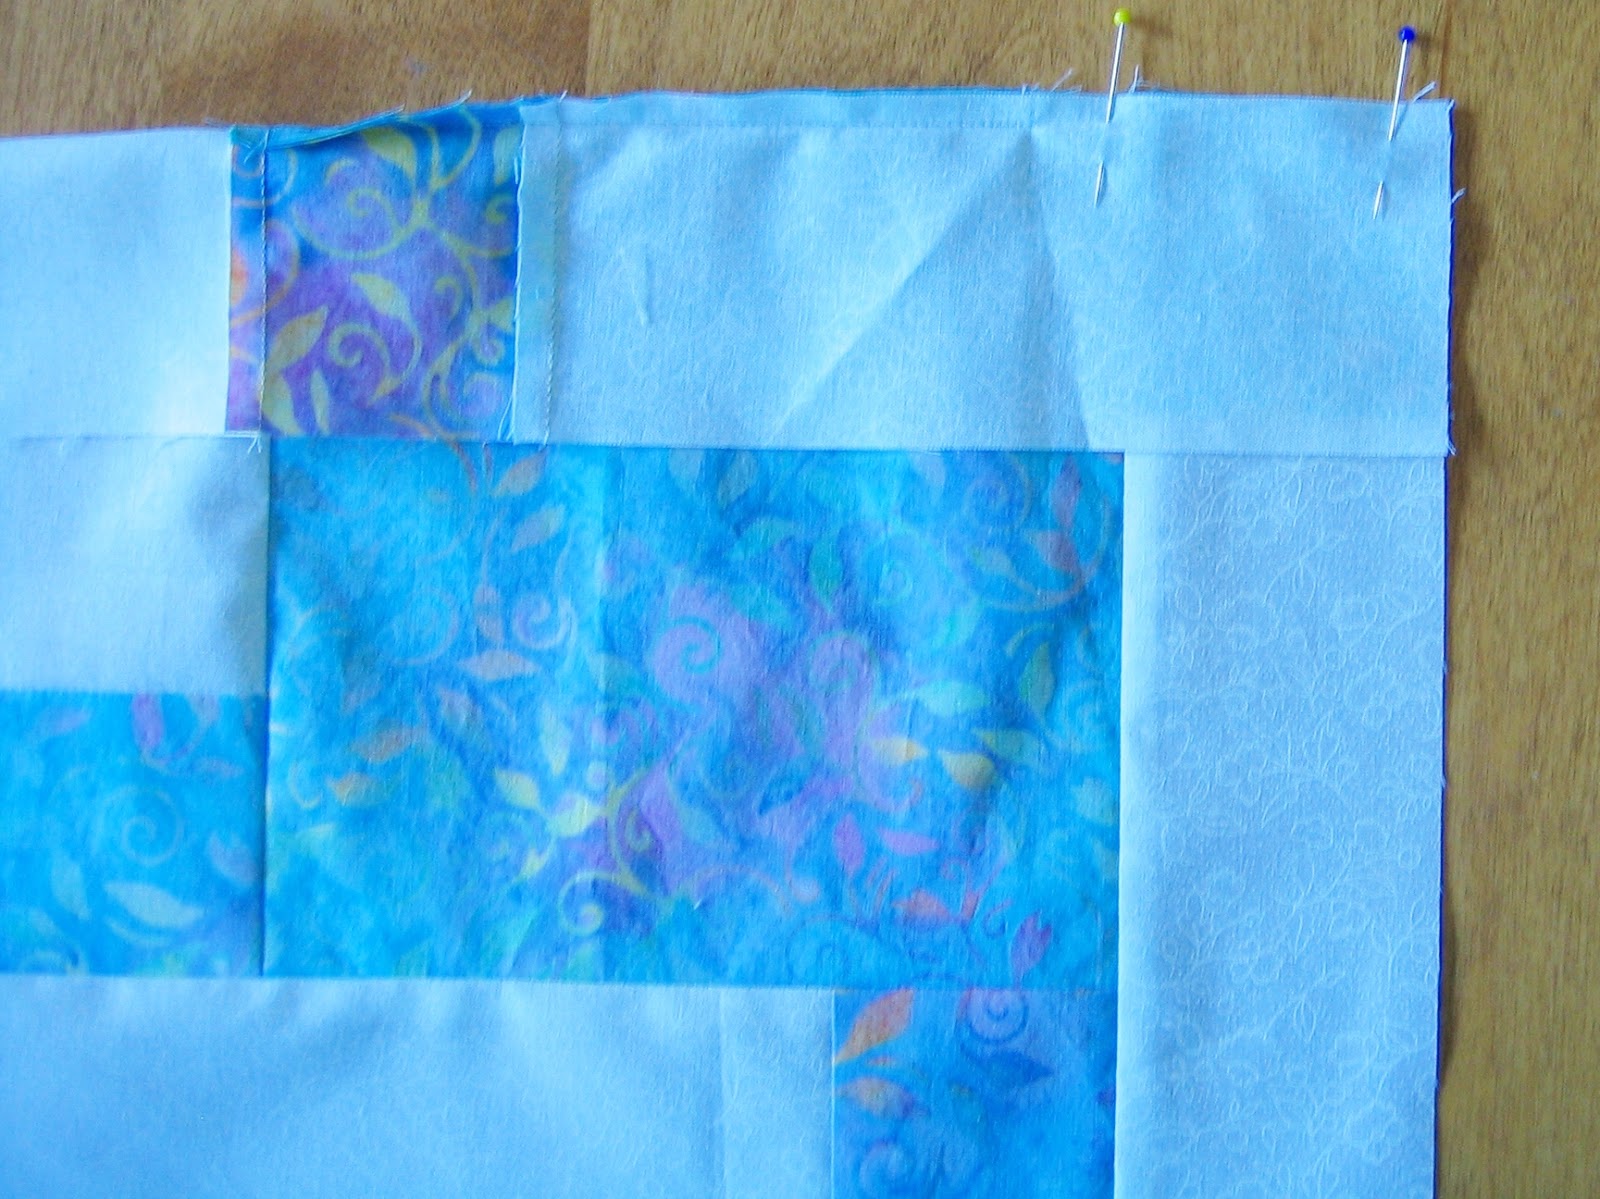
Pin one of the sewn strips to the 6.5" square and sew using a 1/4" seam, STOPPING about 1/2" from the edge of the 6-1/2" square.  Press seams to one side.


Next, rotate your square 1/4 turn counter clock-wise. Pin or line up your next rectangle strip to the pieced centre. You will see the lengths match. Stitch, press.
 
 
Repeat for the last two sides, being careful not to catch the loose "tail" of the partially stitched side in your seam. Press seams.


Pin the partial seam to the block and finish your stitching. Press to one side. 
 
 
Ta da! You're done!


Block should measure 10-1/2" unfinished, 10" finished. Super easy and super cute!

~Happy stitching!

Kat

Sunday, 1 January 2012

Tutorial - Neck Roll Pillow Form


I have stuff. I have lots of stuff. I don't usually have lots of time, since I work full time and have a long commute, so that is why it is such a treat to be able to just 'play'!

Yesterday I decided I needed some new neck roll pillows. I made a pair well over 10 years ago, and they work fine, but one is softer than the other, and I figured it was just time. They have removable covers, so they are easily washed, and they are perfect when you're reading in bed.

I could just go out and buy some, but what is the fun in that? And besides, I have all the 'stuff' to make some, so why not use it up?

This will make two neck roll bolster pillow forms measuring about 20" long.

You will need:

1 - queen sized polyester batting
2 - 20 1/2" squares muslin or other light fabric
1 - 7" x WOF strip muslin or other light fabric
Matching thread for hand sewing
 
1.  To start with, I had this queen-sized poly batting lying around forever.


2.  Open the bag of batting and unroll the length, but don't separate the layers! The way the batting is stuffed into the bag, makes it almost perfect for the length of your bolster. 
3.  Fold the length of the batting in half to find the middle, and then cut into two pieces. Set aside for now. This allows it to expand a bit, and takes out some of the wrinkles.

4.  Take your 20 1/2" square of muslin and fold it in half lengthwise and pin into a tube. Using a 1/4" seam, sew the long seam, backstitching at the beginning and end. Press the seam as it makes a nicer finish. Repeat for the second square.
5.  Using the seam as your first 'mark', mark the fold at the opposite side with a washaway pen. Join this mark with the seam and mark the opposite side centers. Your tube openings should be divided into four. 
6.  Using scissors, on the ends of each of your tubes, carefully take little snips no more than 1/8" about every inch or so. This will help with pinning and easing the circles into the ends of the tubes. Set aside for now.

7.  If you have an Easy Circle Cut™ ruler, fold your 7" strip just enough so you can line up the fold mark and use the 6" finished circle slot to mark (don't cut) the fabric.

8.  Cut the circle out 1/4" beyond the marked line. Repeat to make a total of four circles. If you don't have a circle ruler, I've created a template here, click on the image to below to download the circle template.
9.  Fold your circles in half and iron to mark the folds. Unfold and match your folded points and iron again, so your circle is divided into four.
10. Start with one fold mark and match to the tube mark and pin. Pin all four marks and then continue pinning, easing the tube around the circle. Your circle should be on the bottom with the tube facing up. You can't use too many pins!


11. Now sew along the edge using a 3/8" to 1/2" seam allowance, being sure to backstitch. (I used the edge of my presser foot without selecting the 1/4" setting on my machine, so I figure that's about 3/8"). Repeat for your second bolster pillow.


12. Take the second circle and iron the seam allowance down on half the circle. This makes it easier when hand stitching the opening closed.

13. Using the same method as before, pin the circle into the tube, matching marks, EXCEPT only pin and sew half the circle to the end, backstitching at the beginning and end. Repeat for second bolster.

14. Don't turn your pillow right side out just yet. Now is the fun part (and can't be shown in pics as it's rather unlady-like!  ~wink~

15. Now take one half of your roll of batting, and roll it back up into a sausage, fairly snugly. It will measure 20" wide by about 20-ish" around. Tying a ribbon around it may help you for the next step if you don't have a helper.  

16. This is like stuffing a sausage (I've never done that!) Insert your arm into the tube (seam allowances are on the outside) and grab a firm hold onto your batting roll so the circle end is sort of around the end of batting roll.


17. Use your other hand to start pulling the bolster 'sleeve' around the batting tube. Keep a firm grip on the end of the batting as you're doing this. It may require other body parts, such as the batting being gripped between your knees, but don't give up! It ain't pretty, but it will work, just keep at it! (You can see the rick-rack I used to tie the roll, don't forget to remove it)


18. Once you've got the batting inside the tube, you can reach inside and adjust it as necessary. Your seams are now enclosed. Whew! It's really not that difficult, I promise!


19. Using matching thread, whipstitch the opening closed and you are done! Neck roll pillow form ready to be covered! Until next time...